10-4 Handyman

Our work

Real jobs, start to finish

Every photo on this page is a job we did ourselves in a Madison-area home. No stock photos, no other people’s work.

Trim carpentry

Window trim replacement

Two windows from the same house. We take the old casing out down to the rough opening, then fit new trim, fill it, and finish it with a built-up header to match the rest of the room.
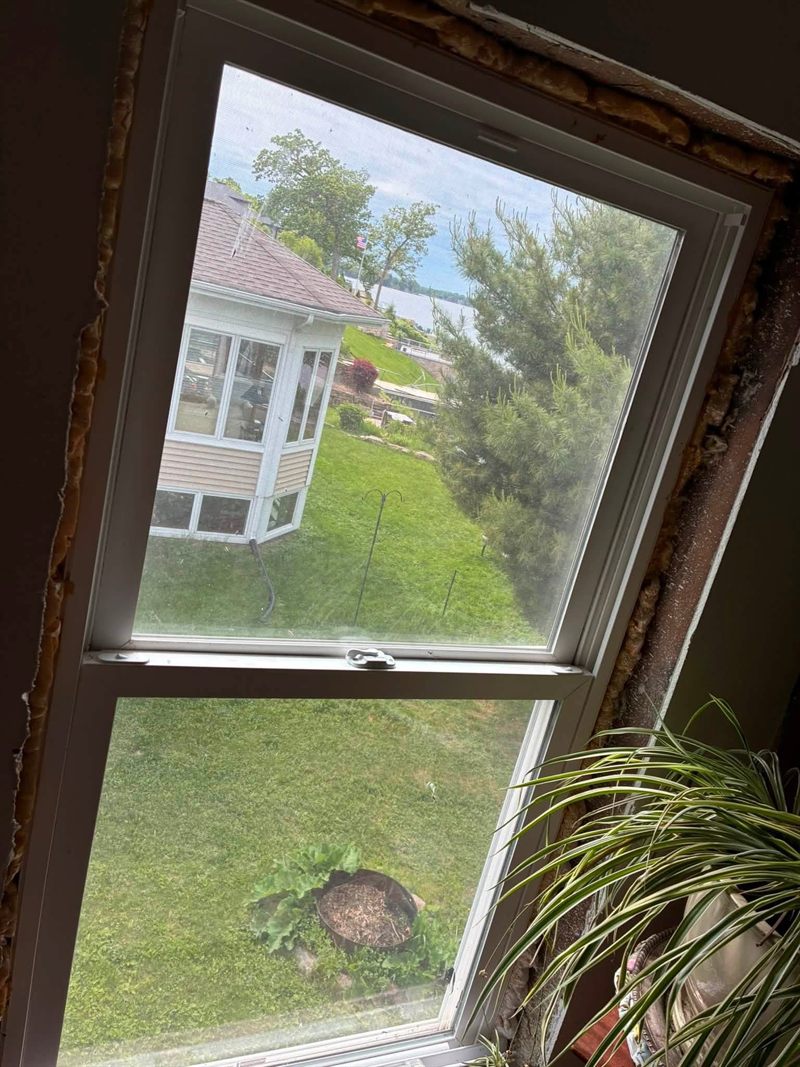
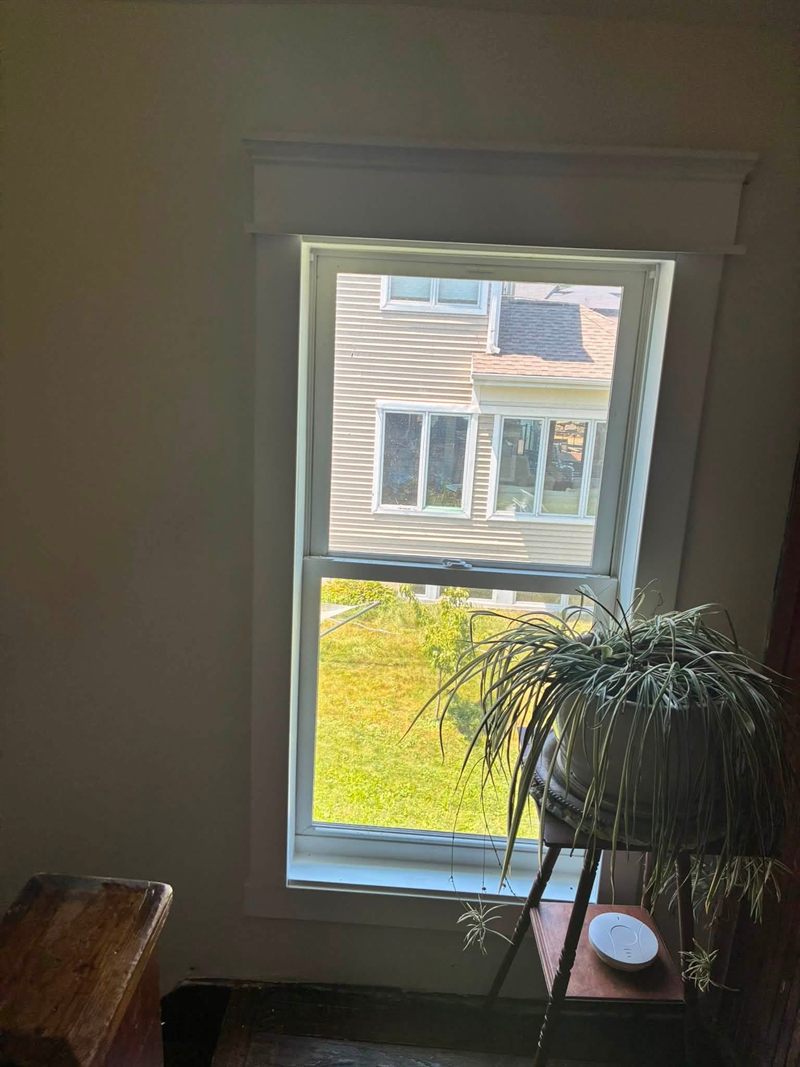
A window with its trim removed, showing the bare rough opening, old caulk and exposed insulation.
Casing out
A window in the same house with new trim installed and painted, finished with a built-up header.
Finished
Plumbing

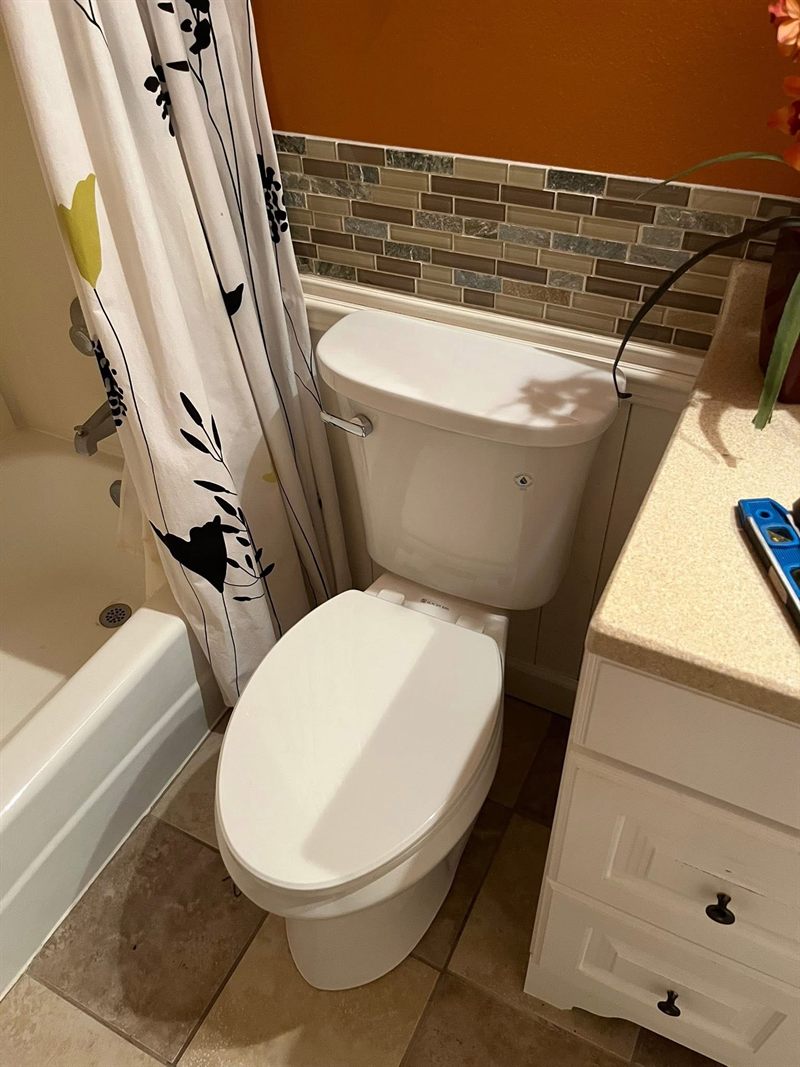
Toilet replacement

We pulled the old unit, cleaned up the flange and checked it, then set the new toilet, sealed it and tested it. The floor stayed covered throughout.
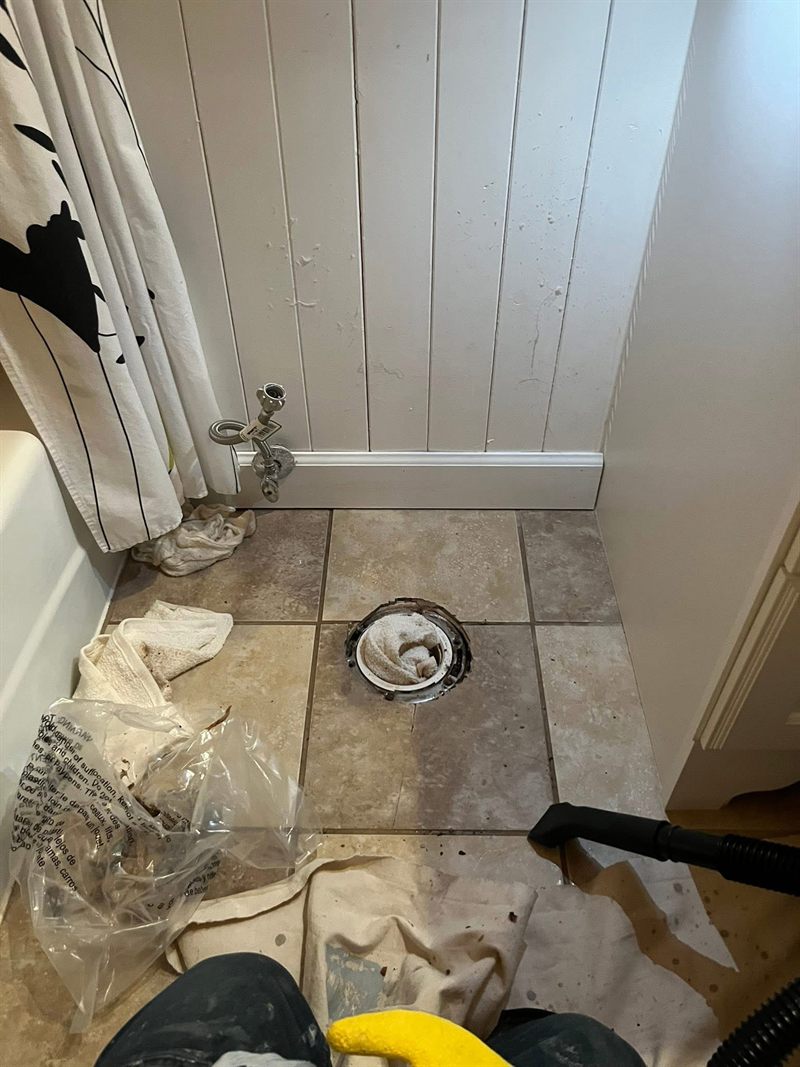
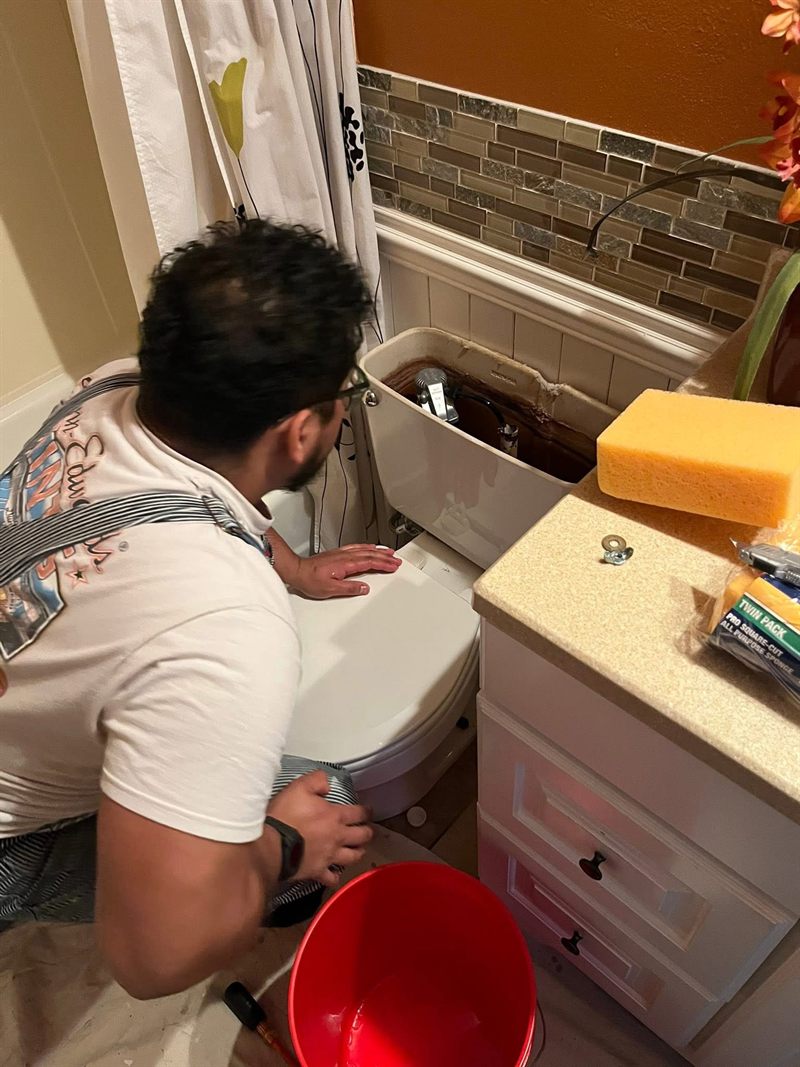
Bathroom floor with the old toilet removed and the flange exposed, with rags and a shop vacuum nearby.
Before
A 10-4 Handyman worker setting the new toilet bowl into place.
During
The finished bathroom with the new white toilet installed and the area cleaned up.
After
Carpentry

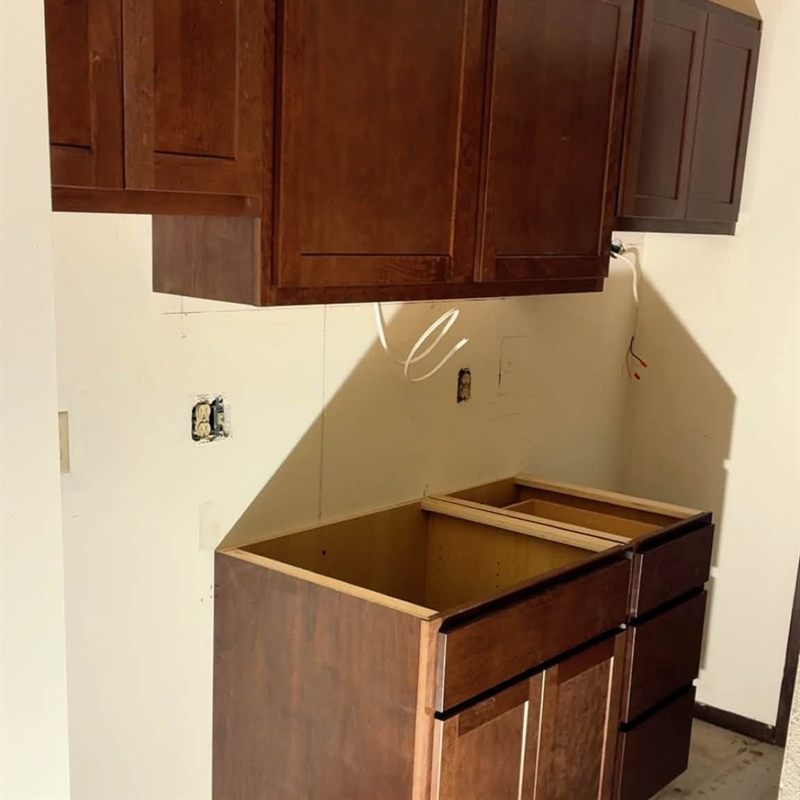
Kitchen cabinet installation

We started from a stripped wall with the plumbing and electrical roughed in, then set the uppers and base cabinets level, scribed them to the wall and secured them.
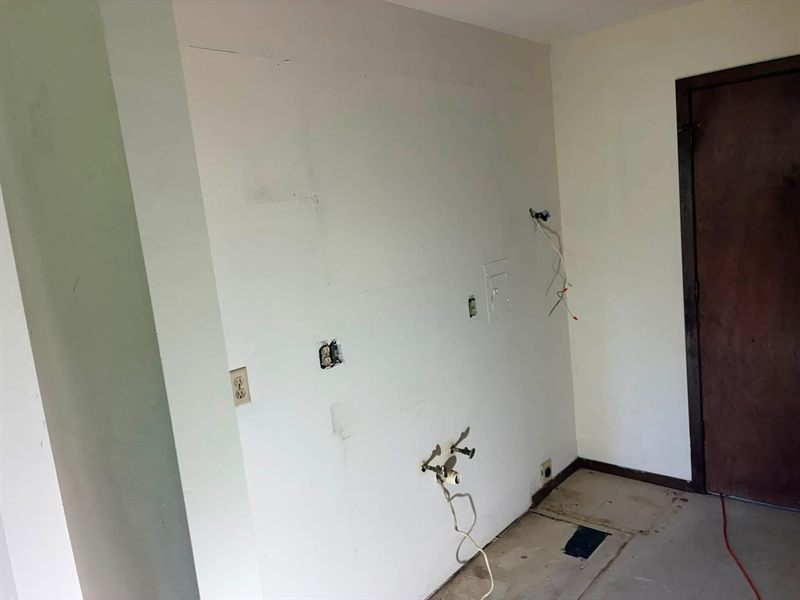
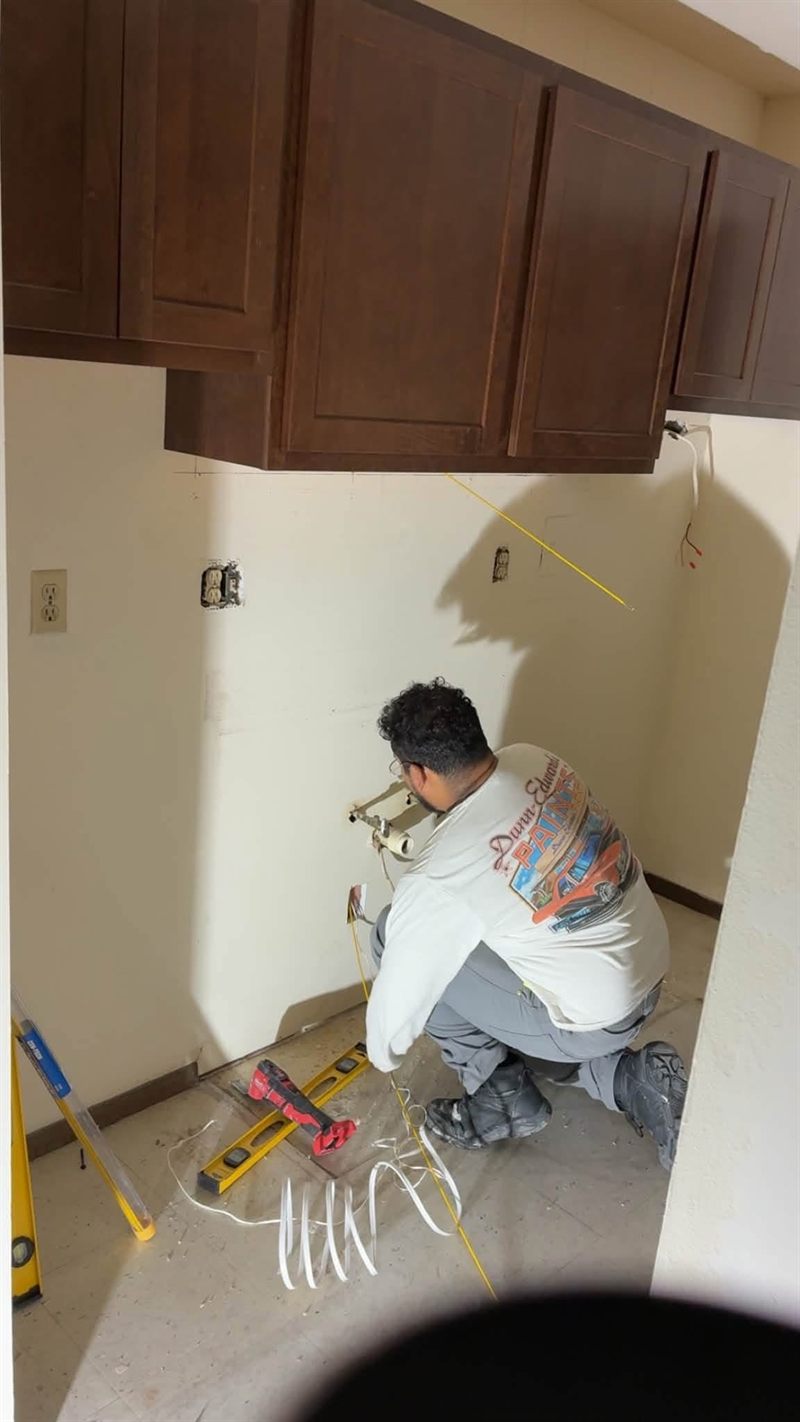
Bare kitchen wall with plumbing stub-outs and exposed electrical, floor torn up.
Before
A worker measuring and marking the wall with the upper cabinets already hung.
During
Upper and base cabinets installed along the kitchen wall.
Cabinets in
Flooring

Vinyl plank flooring

Same house as the kitchen above. We took the old floor up, prepared the concrete subfloor, and ran new plank through the living space.
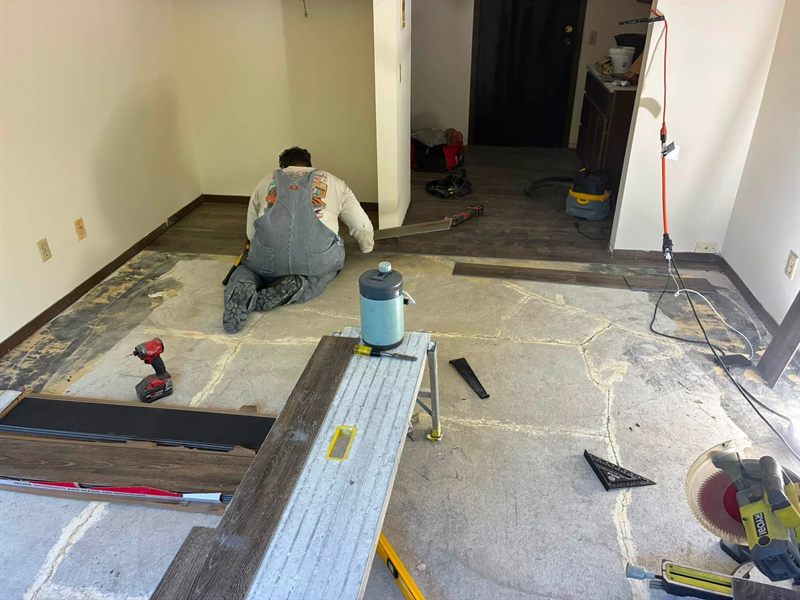
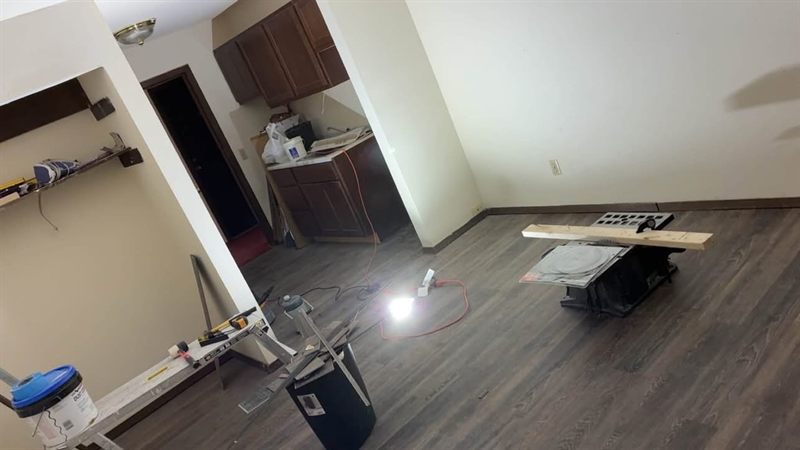
Vinyl plank flooring being installed over a prepared concrete subfloor, with tools laid out.
During
The finished dark vinyl plank floor running through to the kitchen doorway.
After
Bathroom

Bathroom vanity replacement

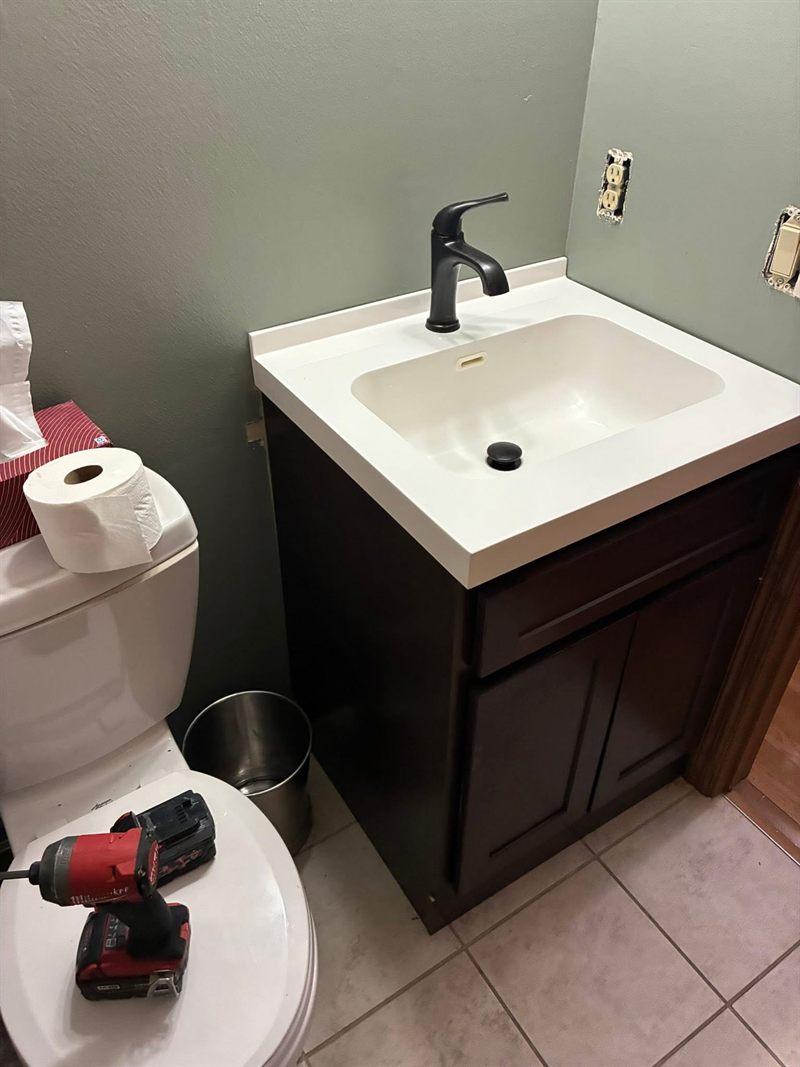
We built the new vanity, set it in place, reconnected the plumbing, and fitted the faucet and drain.
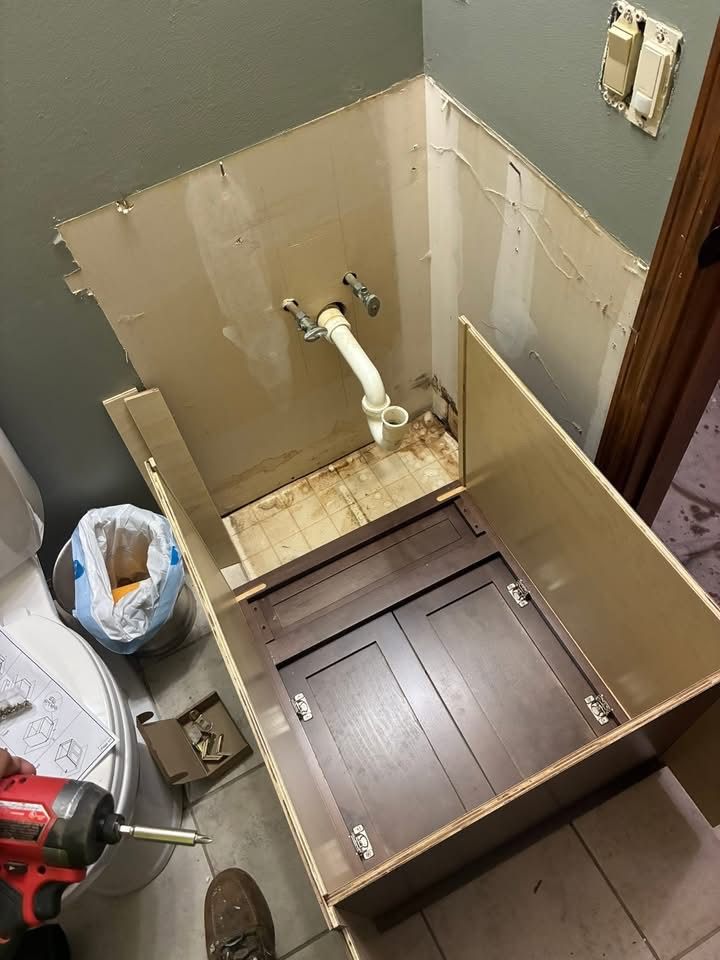
A bathroom vanity cabinet being assembled, with the wall opened up and the plumbing stub visible.
During
The finished vanity with a white top, dark cabinet and black faucet.
After
Assembly

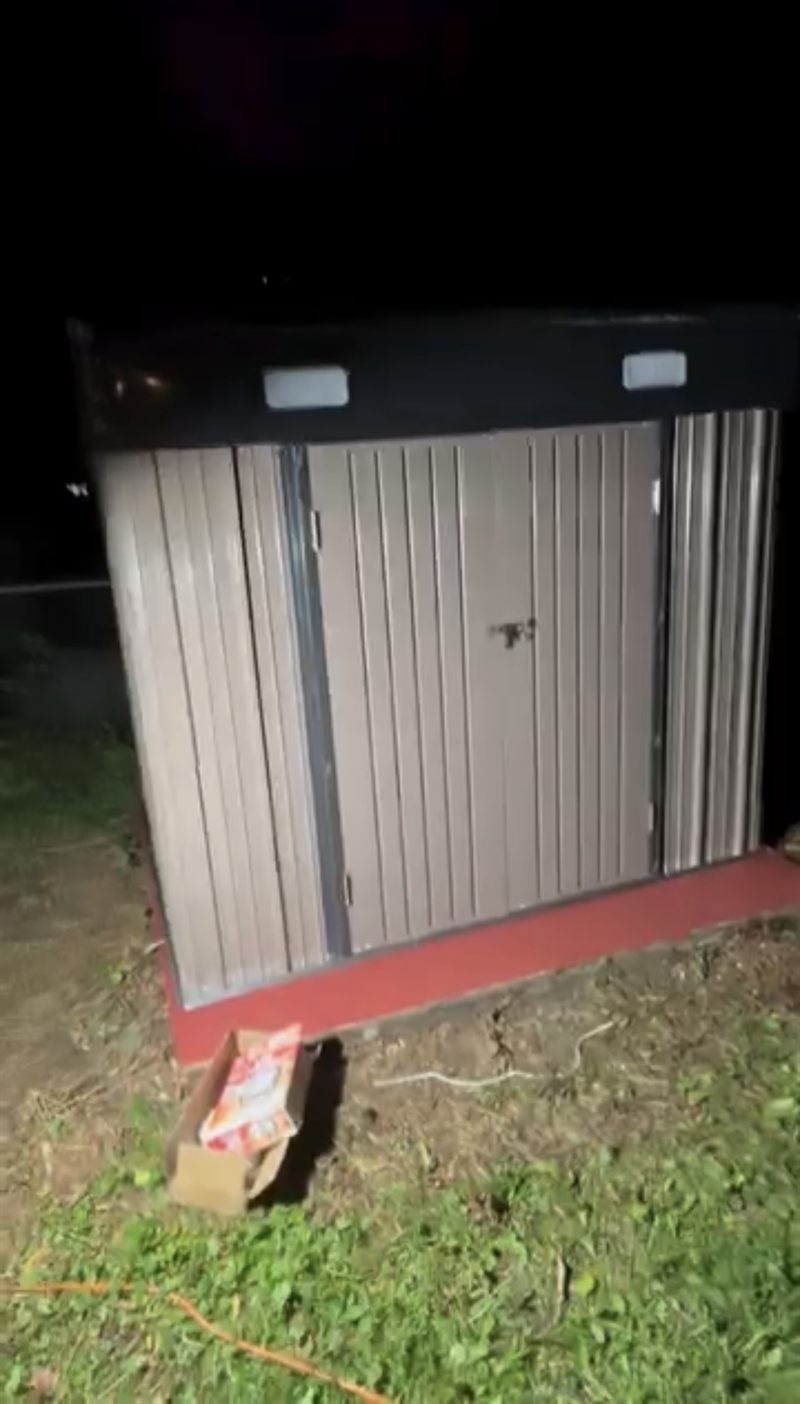
Storage shed build

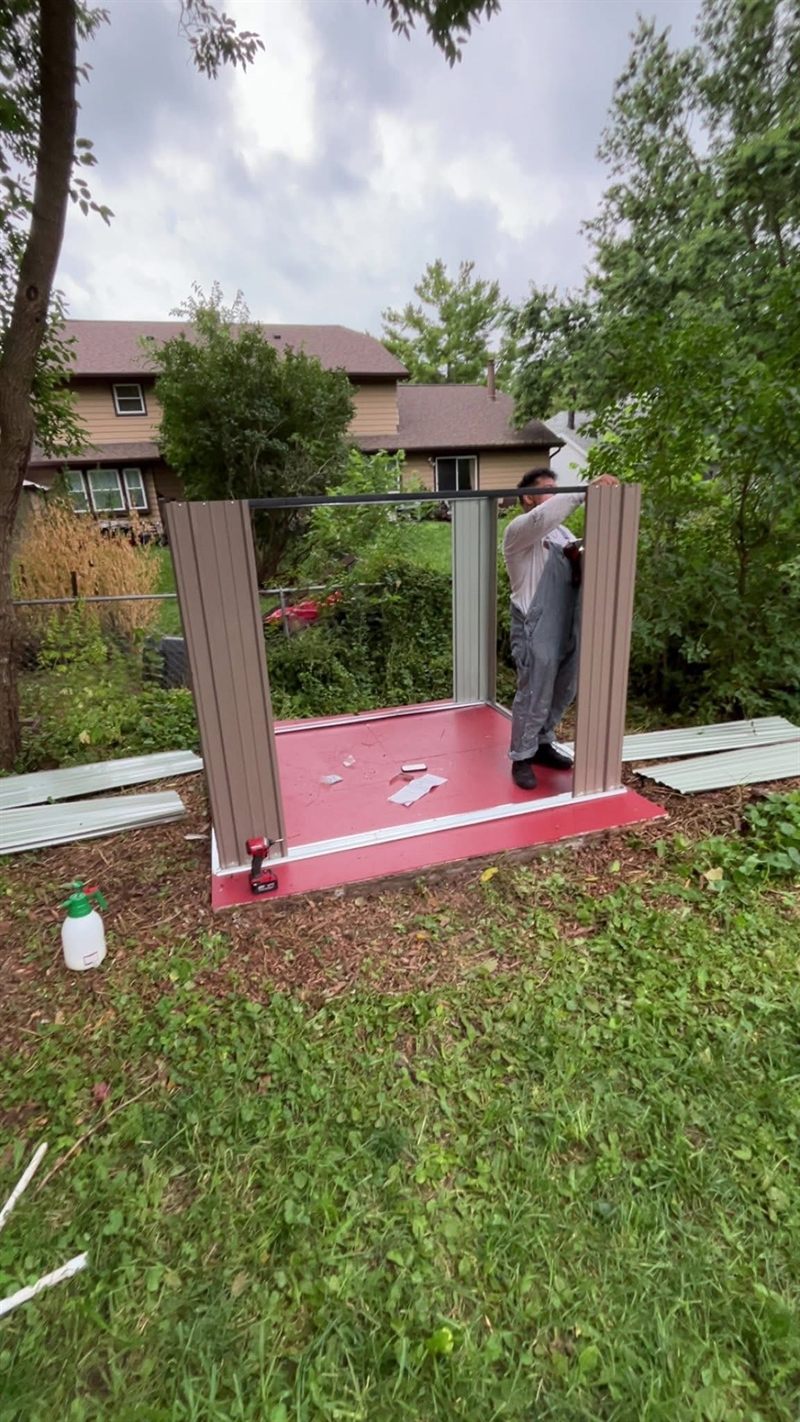
We squared and levelled the base first, which is what stops the doors binding later. Then the shed went up panel by panel.
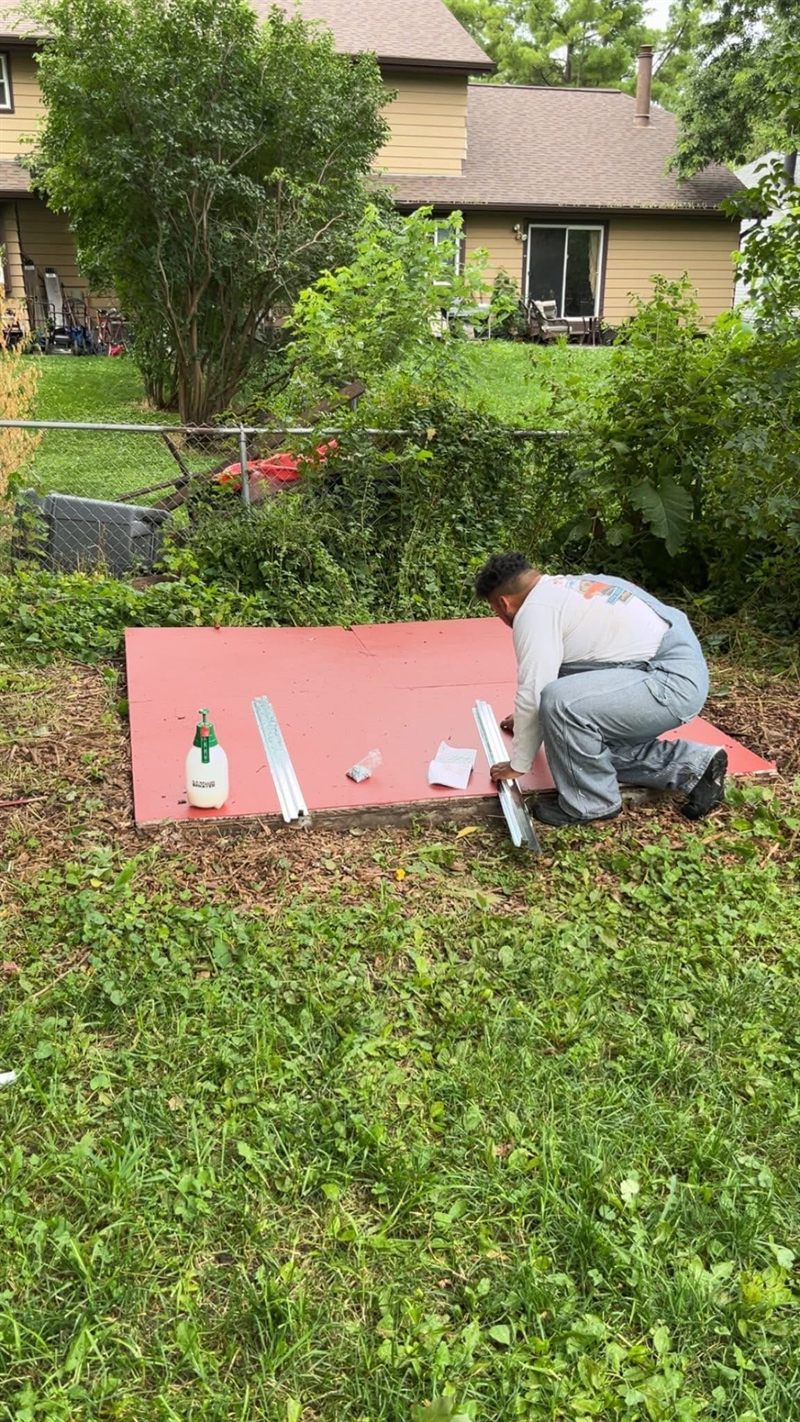
A worker laying out the base rails of a shed on a prepared platform in a back yard.
Before
The shed walls being raised and fixed together on the base.
During
The completed metal storage shed with the doors closed.
After

Your turn

Got something that needs doing?

Send us a photo of it. That is usually all we need to give you a number.